 (808) 666-8036

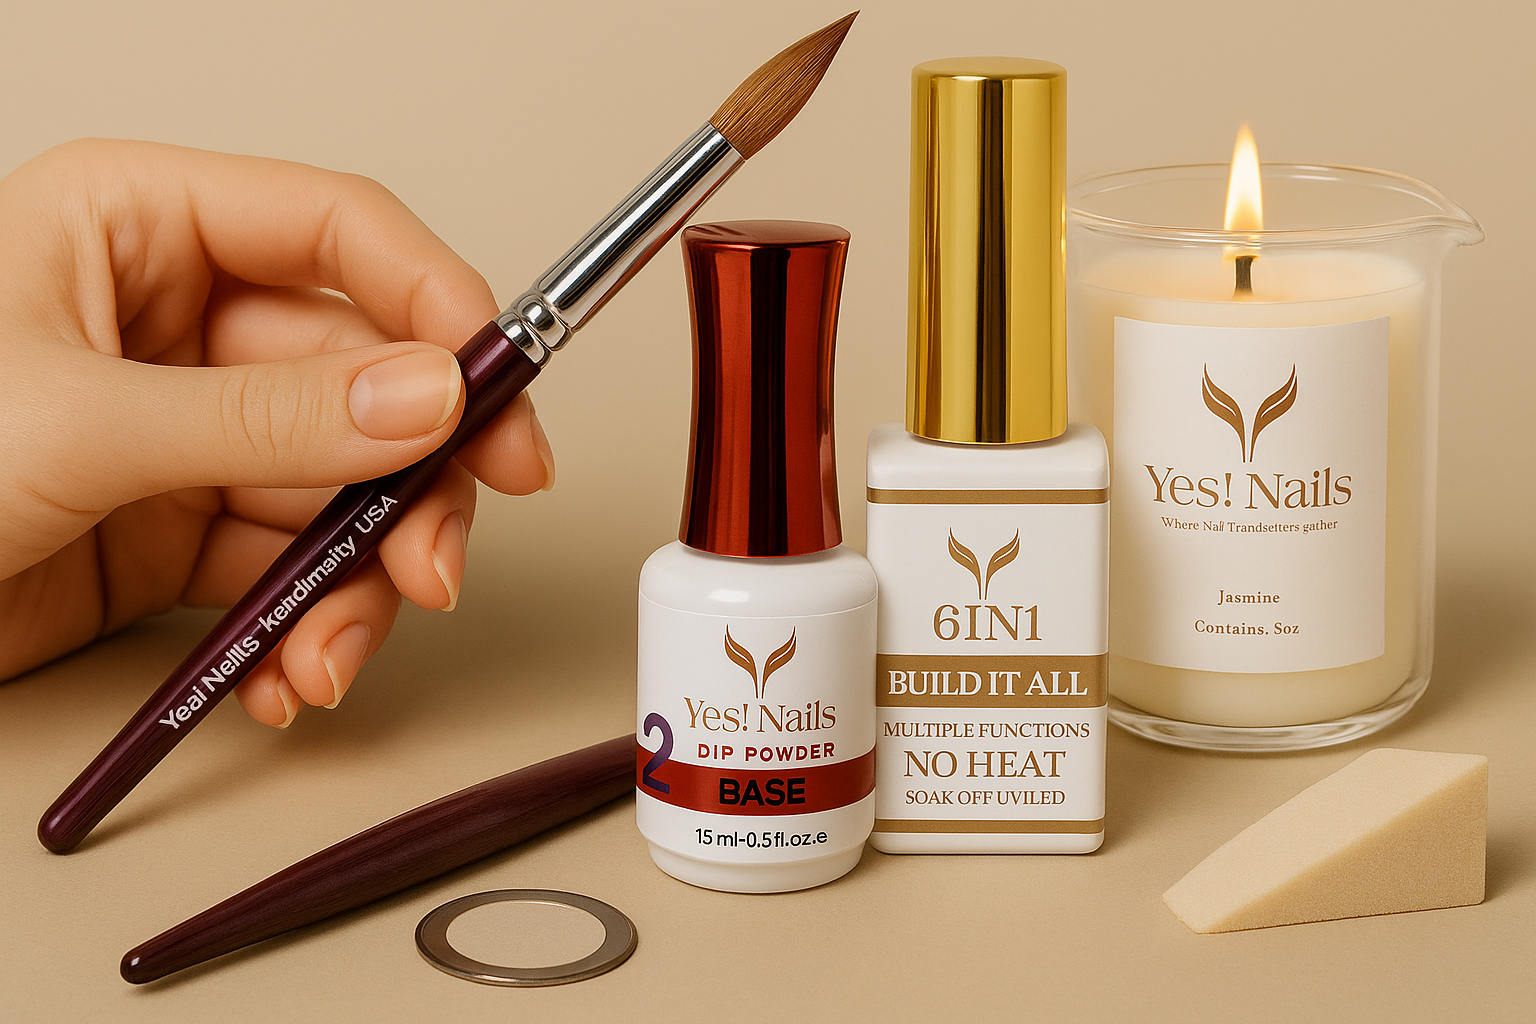
Nail Art for Beginners: Simple Techniques That Look Pro (Without Overwhelm)
You’ll learn a minimal toolkit, a clean prep routine, and four looks clients love—without micro-details that require years of control. Keep it glossy, neat, and wearable.
Your beginner toolkit (only what you’ll actually use)
- Gel polish (nudes + one pop) — Shop Gel Polish
- Base & top coat (glossy/no-wipe) — Base/Top Sets
- Tools: dotting tool, liner brush, sponge, striping tape — Tools & Accessories
- Cat-eye gel + magnet (optional) — Cat-Eye Gels
- Cuticle oil + ultra-fine buffer — Nail Care
- Dip/Powder overlays (optional) — Powder System
Prep basics (the glossy foundation)
- Tidy cuticles gently; even shape and sidewalls
- Remove dust with lint-free pad; brief dehydration
- Base → thin color → glossy top; cap the edge each coat
New to prep? Read our Nail Care Guide.
Four designs that make beginners look advanced
Dotting Polka · Micro-French (tape) · Minimal Lines · Cat-Eye Swipe.
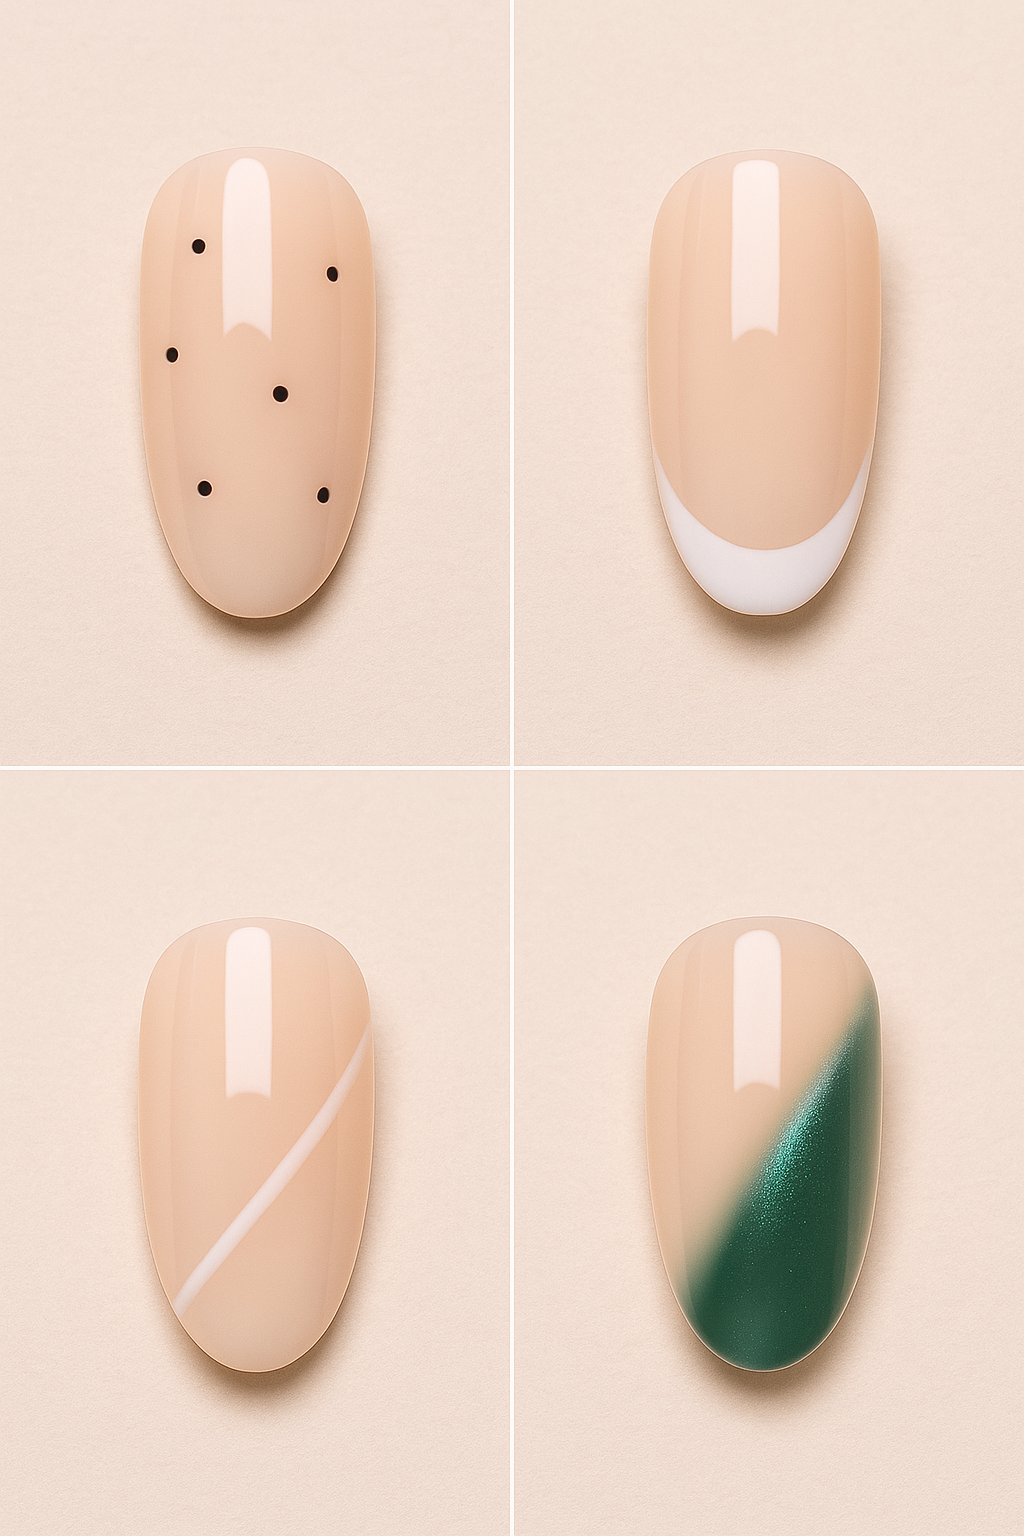
1) Dotting Polka
Two thin nude coats → cure → tiny dots with a pop color → cure → glossy top.
2) Micro-French (cheat with tape)
Sheer base → tape 1 mm from tip → paint thin tip → cure → peel tape → top.
3) Minimal Lines
One slim off-center or diagonal line with a liner brush → cure → top.
4) Cat-Eye Swipe
Cat-eye coat → diagonal magnet for 1–2 s → cure → top.

The color starter pack
- Everyday: latte nude, soft cocoa, blush
- Accent: chrome champagne, emerald cat-eye, lilac for aura
- Keep it tight: 3–4 shades max per set
Mistakes beginners make (and the fix)
- Thick coats → go thinner; better control & cure
- Flooded cuticles → leave a hairline gap
- Dull finish → clean, fully cure, cool before oil
- Chips at tips → cap the edge every coat
- Shaky lines → brace your wrist; breathe out as you draw
Beginner-friendly picks (shop the essentials)
- Beginner Gel Shades — nudes + one statement color
- Base & Top Coats — glossy, no-wipe
- Tools & Accessories — dotting tool, liner brush, striping tape, sponge
- Powder System — optional overlays for strength
- Nail Care — cuticle oil, buffers, pads
Next reads: