
Uncategorized
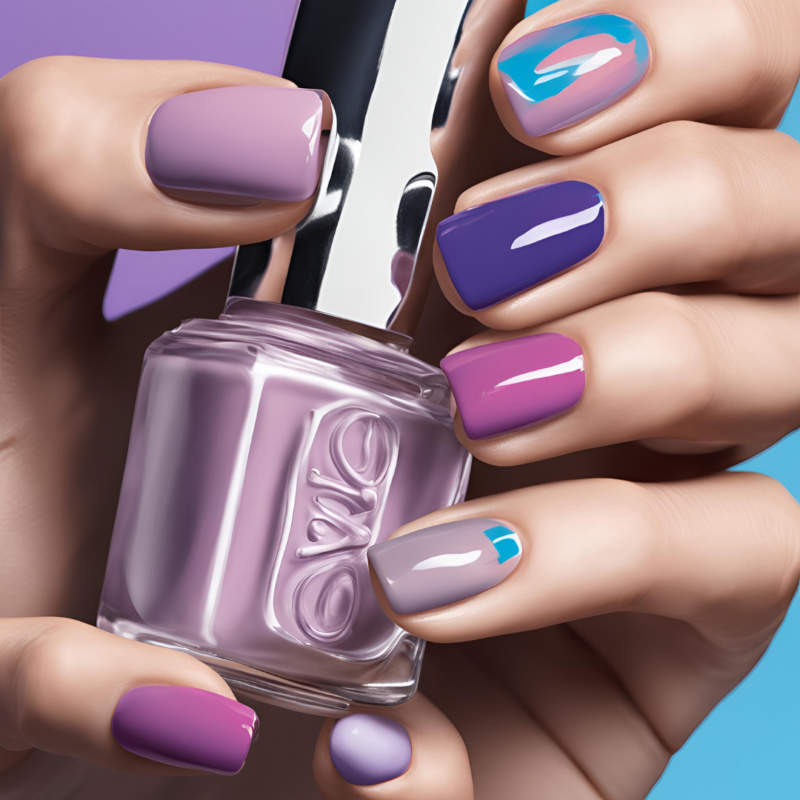
Step-by-Step Guide to Gel Nails at Home
03
Jul
Jul
Absolutely! Here’s a blog post draft for idea #10, tailored for Yesnail’s audience:
Step-by-Step Guide to Gel Nails at Home: A Salon-Worthy Manicure in Your PJs
Love the look of gel nails but hate the salon price tag? Get ready to unlock the secrets of a long-lasting, chip-resistant manicure from the comfort of your own home! This guide will walk you through each step, ensuring you achieve professional-looking results every time.

What You’ll Need:
- Nail Prep Essentials: Nail polish remover, cotton balls, cuticle pusher, nail file, buffer
- Gel Polish System: Base coat, gel polish colors of your choice, top coat
- Curing Lamp: UV or LED lamp
- Other Tools: Lint-free wipes, rubbing alcohol, cuticle oil
Step-by-Step Instructions:
- Prep Your Nails:
- Remove any old polish with nail polish remover.
- Gently push back cuticles and file your nails to your desired shape.
- Buff the surface of your nails lightly to create a smooth canvas.
- Cleanse:
- Wipe your nails with a lint-free wipe soaked in rubbing alcohol to remove any oils or debris.
- Base Coat:
- Apply a thin, even layer of base coat to each nail, capping the edges to prevent chipping.
- Cure under your lamp for the recommended time (usually 30-60 seconds).
- Gel Polish:
- Apply the first thin coat of your chosen gel polish color, again capping the edges.
- Cure under the lamp.
- Repeat with a second coat for full opacity and cure again.
- Top Coat:
- Apply a thin layer of top coat, sealing the edges for maximum protection and shine.
- Cure under the lamp.
- Finishing Touches:
- If your top coat leaves a sticky residue, gently wipe each nail with a lint-free wipe soaked in rubbing alcohol.
- Nourish your cuticles with a drop of cuticle oil.
Pro Tips:
- Work in thin layers to ensure proper curing and prevent bubbling.
- Cap the edges of each layer by swiping your brush along the free edge of the nail.
- Don’t forget to cure each layer thoroughly according to your lamp’s instructions.
- Invest in good quality products for the best results.
Safety First:
- Always work in a well-ventilated area.
- Protect your skin from the lamp’s UV light by wearing sunscreen or gloves.
- Store your gel polishes in a cool, dark place away from direct sunlight.
Show Off Your Skills!
Tag us on social media with pictures of your DIY gel manicures – we can’t wait to see your creativity shine! And don’t forget to explore our range of Yesnail gel polishes and tools to make your at-home salon experience even more enjoyable.